

AI in Marketing: How to Leverage
the Growing Content Trend
(and Avoid Pitfalls)
Explore the pros and cons of AI in marketing. Discover how AI can revolutionize content strategies without losing your creativity…
Read More

As the world plunged into isolation and events were canceled almost daily, virtual events began to take over in order for people to feel connected to their loved ones, friends, and colleagues. Various methods of gathering began to emerge. Everything from Zoom parties, to party game apps, virtual music festivals, and more. One of the more intriguing methods of gathering virtually is Gather.Town. Gather.Town is essentially proximity-based video chatting in a virtual environment. You move your avatar around spaces people create in order to connect with others. It’s a great tool for networking as it’s easy to move from group to group and join conversations with ease. You can also enter private spaces, allowing you to hold conversations with small groups of people privately. You can learn more about Gather.Town’s features, here.
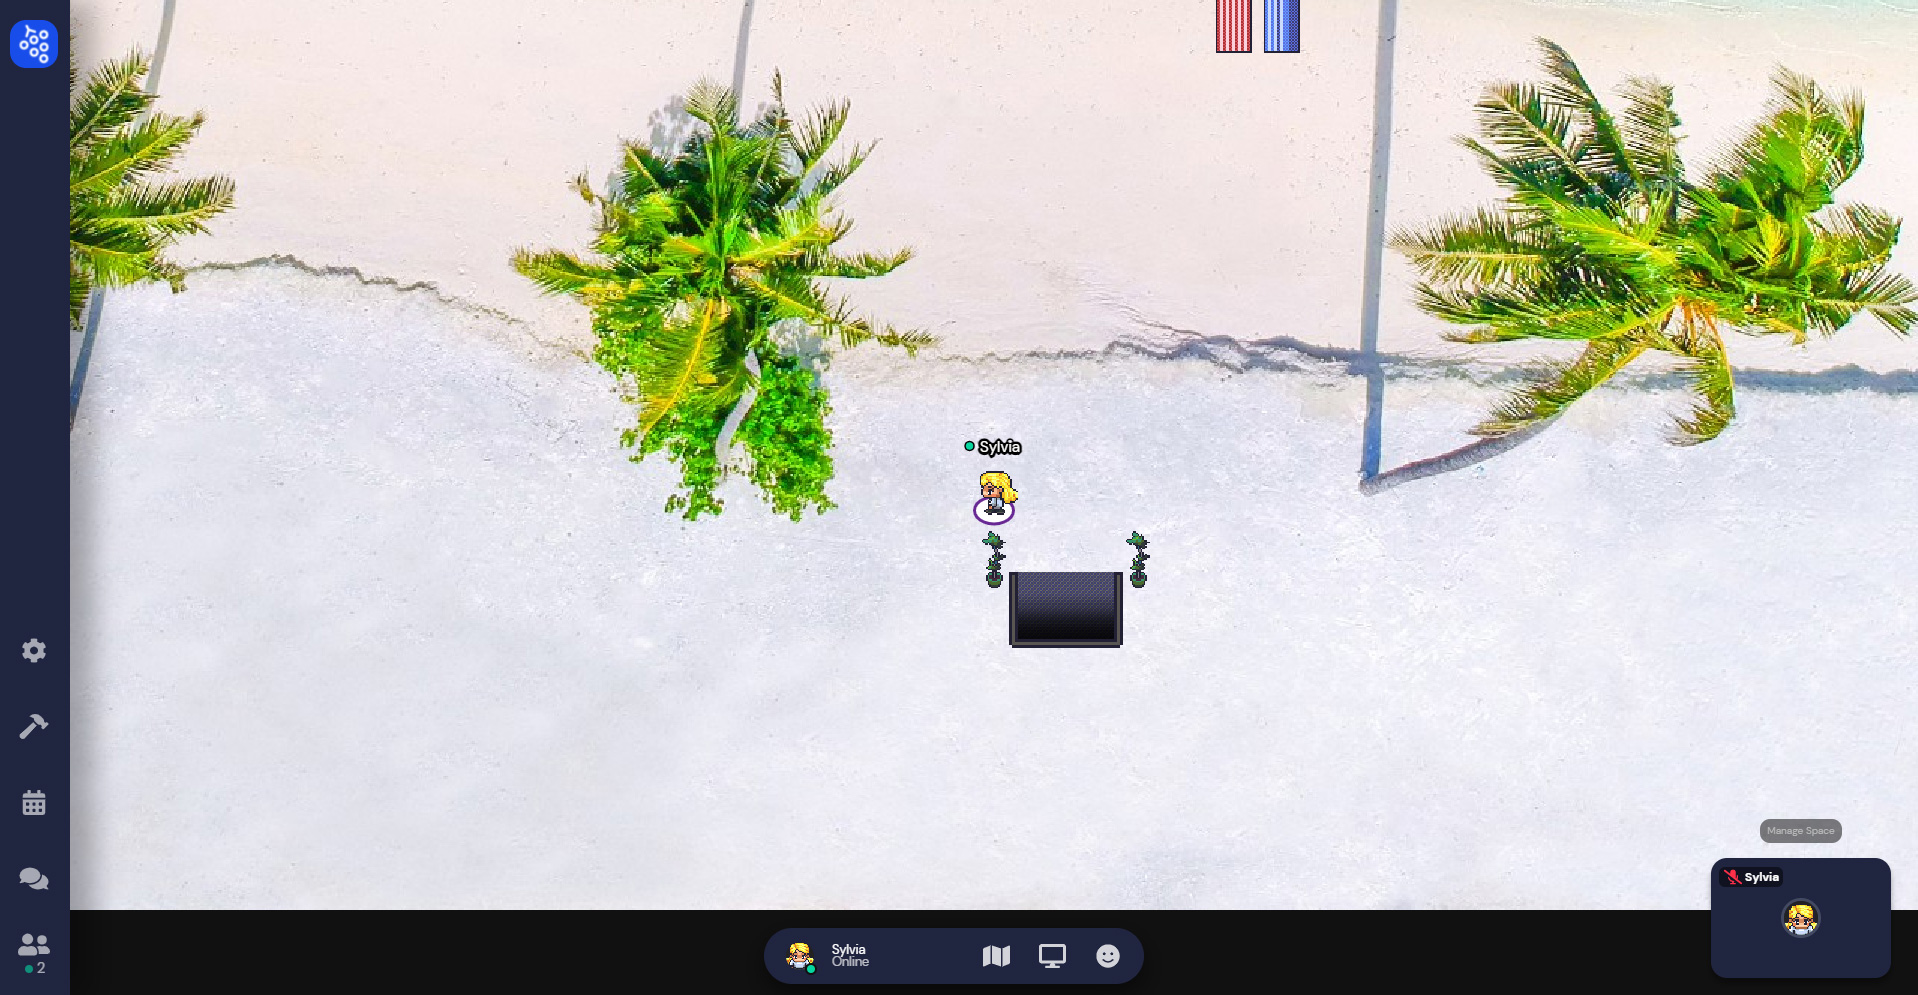
Creating a Gather.Town map can be as simple as uploading a single image, or as complex as creating your own textures and patterns for walls and floors. At Ironistic, we’ve done both for ourselves and our clients. Feel like you need a beach getaway or want to relive a past vacation? Upload your photo to Gather.Town’s mapmaker set a place to spawn in (the space in which visitors first appear in your room), and you’re ready to go! Or you can create your own maps using templates provided by the Gather team. They have templates for offices, homes, restaurants, parks, or even a space station. You could also take full control of your space and create your own textures and furniture if you desire. I’ll walk you through a couple of options in creating your own map.
Let’s cover the interface first before diving in to create a map. Gather.Town works on a 32-pixel grid system, so when you create a blank space you’ll see the grid system. Everything occupies spaces that are in multiples of 32. Most chairs are 32px, couches are 64px, tables are 96px and so forth. Once you’ve selected your background image, you can upload it to Gather.Town.
The majority of the controls are placed in the top right corner of the interface. Clicking the hamburger icon opens a menu allowing users to upload a foreground or background image (as well as an option to download those should you need to make edits). You would use the foreground option if you have a space that has doorways for avatars to pass through. Without the foreground, it would appear as though you’re walking on top of the wall.
The vertical menu has a series of icons giving you the option to move your canvas (hand icon), add tiles (the stamp icon – you use this to add spawn, portal, impassible and private spaces) (stamp icon), and erase tiles (eraser). On the right, you also have the ability to add rooms. For example, you could use this if you created an office space and you needed a conference room that is separate from the main space. You would use a portal tile to take users from one room to the next. You also have the ability to zoom in / out on the map, and undo / redo actions.
Horizontally across the top left are buttons for objects, tile effects, and walls & floors, as well as the option to save your map. The objects button will open a dialog allowing you to browse Gather.Town’s library of assets. Included are various furniture pieces, decorative objects and interactive objects.
Now that we’ve covered the interface basics, let’s create a map!

Another easy way to create a map is to build one based on a single image. Head to Gather.Town and click “Launch Gather’ in the top right corner of the page. It will take you to a page where you can manage any maps you’ve created, or create a new one.
If you click “Create a Map” you are taken to a screen where you can choose from one of the pre-existing templates or you can create a blank map. For this example, we’ll create a blank map. Name your space and assign a password and you’re taken to the mapmaker.
Click the hamburger icon to open your file browser and navigate to your image and upload it.

Now that you’ve successfully uploaded an image to serve as your map, you have the ability to make customizations. You have the option to outline the border or any spaces with impassable tiles so users can’t fall off the edges of your image, or walk through trees. You will need to add a “spawn” space. This is where users will enter the first time they visit your map. It can be anywhere that you want, like in the middle if your room has a seal or welcome area, or near the bottom if you want users to have that feeling of walking into a convention center.
You can also add private spaces if you desire. Private areas allow people to be able to speak privately without interruption or listening in.
Finally, using the object option, you can add furniture and interactive objects. There are various styles of furniture for different rooms/uses in addition to decorations. There are also interactive objects for visitors to interact with. For example, you can place a tv screen in your room and have it link to a YouTube/Vimeo video and your visitors can watch your video. When a visitor approaches the screen, it becomes highlighted in yellow to show it’s interactive. By pressing “x”, your visitor can watch the video you’ve selected.
Once you’ve got furniture placed where you want it, hit the save icon in the top middle of the screen. You can now test out your map, or invite friends to join you.

Creating a map from scratch is the most time-consuming approach but also gives you the most amount of control. There are a couple of ways to create your background. You can use Photoshop (though I’ve found using the 32px grid system in photoshop really bogs down my machine), you could use illustrator to draw your background, or you can create your own tileset and use a program like Tiled. A tileset is a collection of assets you create that will make up the elements of your map.
For example, if you are creating a park, you’ll need a tiles for grass, multiple tiles for paths (including what each corner would look like so you can add turns), and maybe iron or cobblestone walls. Your tileset could also include elements like lampposts, trash cans, signs, and directional labels for your user. Anything that you would place on your map could go in your tileset. These tilesets become repeating elements that you tile in Tiled. Gather.Town does provide their tilesets for users, so that’s a great place to start if you are unfamiliar with them. There is also a blank template for you to customize.
Perfecting a tileset can be a time-consuming task but once you finish it and get it into Tiled, creating the actual map is a breeze. You can skip the process of adding furniture in Gather.Town if you have them in your tileset already. This can be handy if you’re the only one managing the map. If others are going to make their own tweaks, I recommend placing objects within Gather.Town and just uploading the blank background images you’ve created.
If you’re using Tiled, export your image and create a new space using the steps I outlined above. Then, upload the image you created and use the Tile tool to add red blocks for impassable spaces (exterior and interior walls you don’t want people walking through). Lastly, add a spawn for people to enter the map and any private spaces. Private spaces are numerically labeled. So each unique private area would be assigned its own number. You can turn an entire section of your room into one large private space, or just two chairs. Whatever best fits your needs.
Once you’re finished, click save and check out your custom space!
Launching Gather.Town for the first time can be overwhelming, but once you explore a bit you’ll surely feel more comfortable using their interface. I highly recommend checking out their live demo or office space to explore a bit and get more familiar with Gather.Town.
Stop by Our Virtual OfficeDo you have a large event coming soon that you want to take virtual? Or are you overwhelmed by all the options within Gather.Town? Contact Ironistic for help. We can help bring your vision to two-dimensional reality.


Comments
There are currently no responses.