
HVAC Marketing: Boost Your Reach Without Melting Your Budget
Ah, the wild world of HVAC marketing—where every season brings new challenges, competitors are practically breathing down your ducts, and…
Read More

Installing and configuring the new Iron gForce Plugin to enable your Greenhouse Integration is a straightforward and simple process. Most of these instructions are included within the plugin settings, but some additional information or context will be provided here as well.
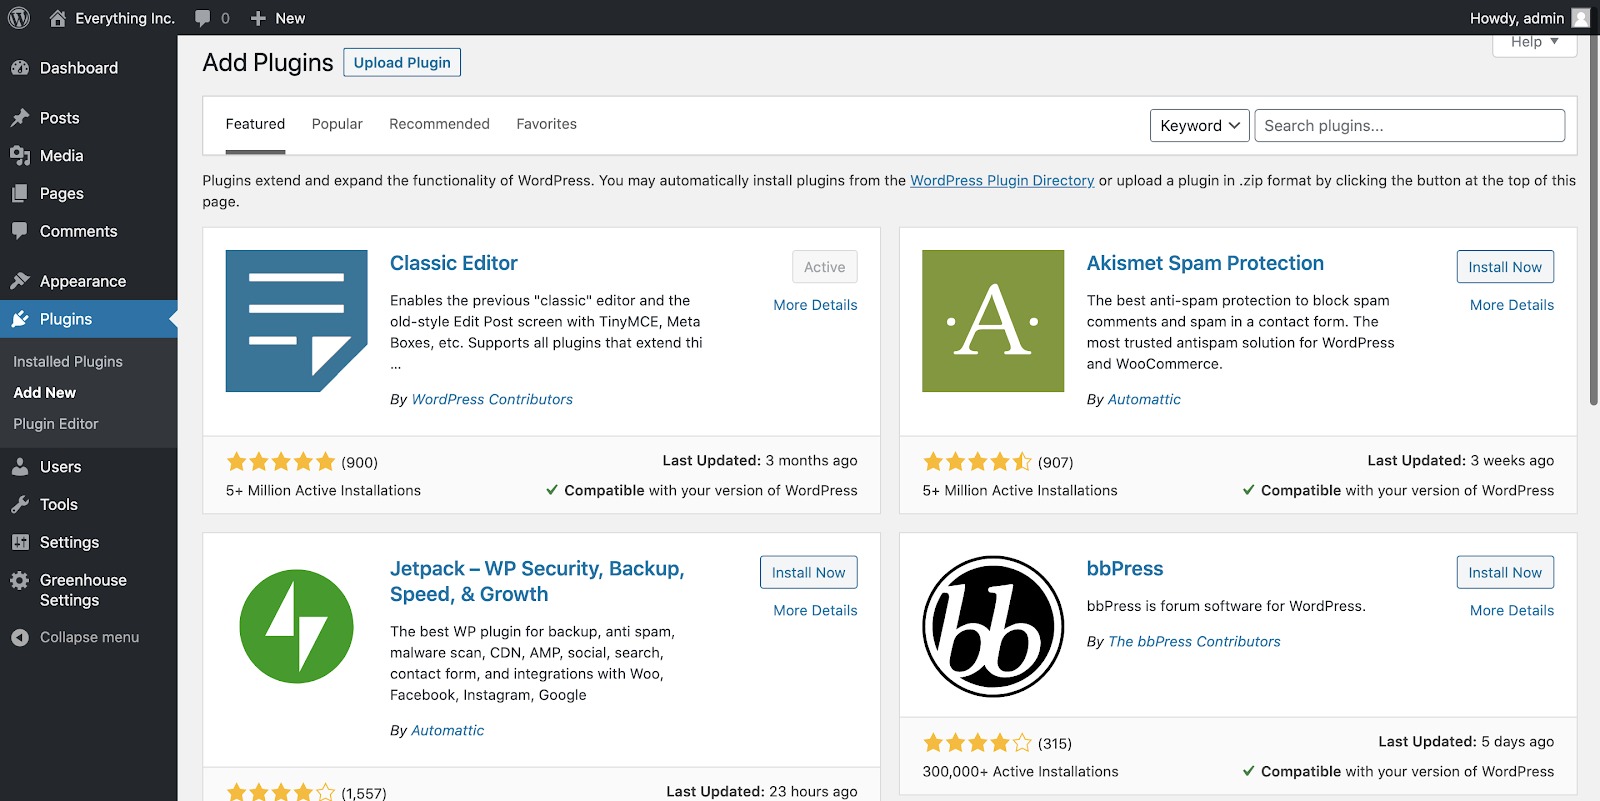
1. Log in to your WordPress Dashboard and select the Plugins menu item in the left navigation. 
2. Click the Add New sub-menu item under Plugin.
3. Click the Choose File button and locate the irongforce.zip file you downloaded after purchasing the plugin and click Install Now. 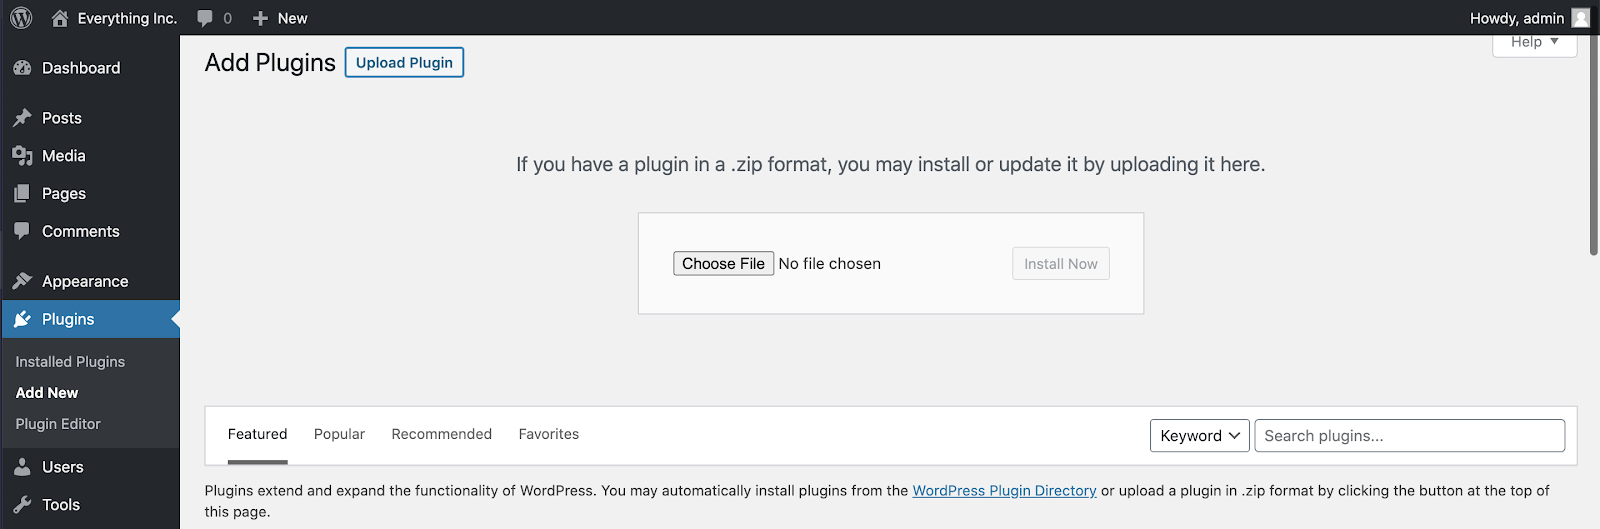
4. Click Activate Plugin. 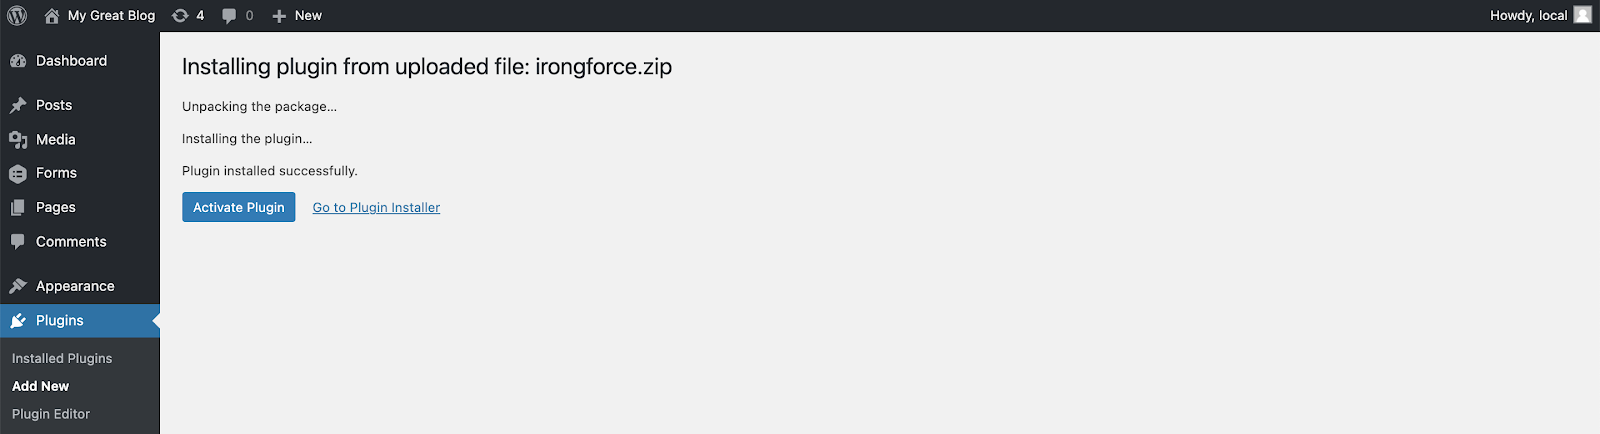
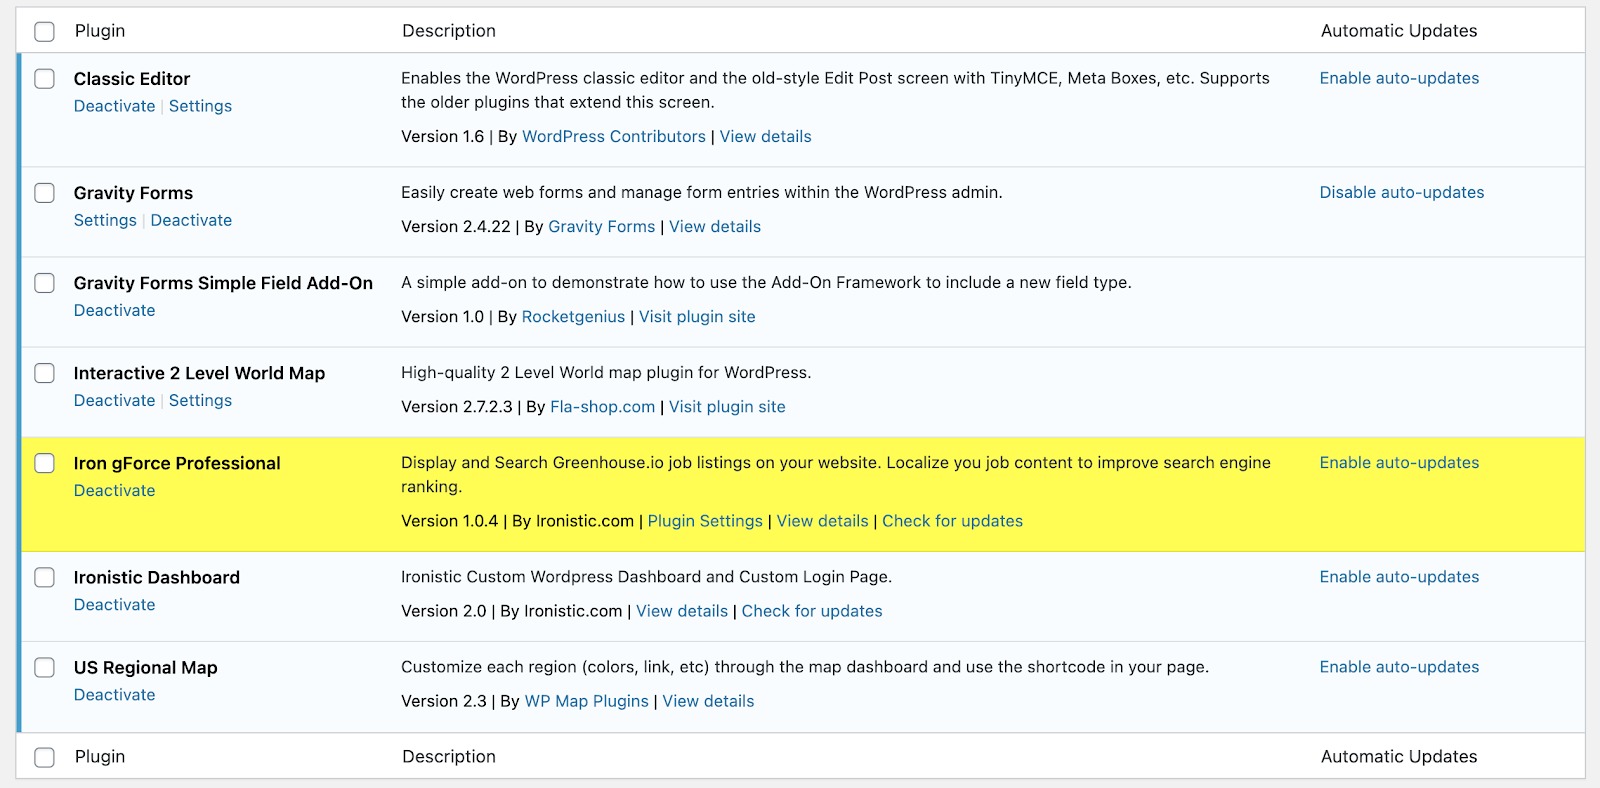
5. Enter your registration key provided to you when you purchased the plugin and click update.

6. Locate the Iron gForce link in the left-hand menu and select the link labeled Job Boards. On this page add your Greenhouse Job Board name(s), the first column needs to match your Job Board name as it is defined in your https://app3.greenhouse.io/configure/dev_center/config account. The second column is simply a label, and you can set this to whatever you want.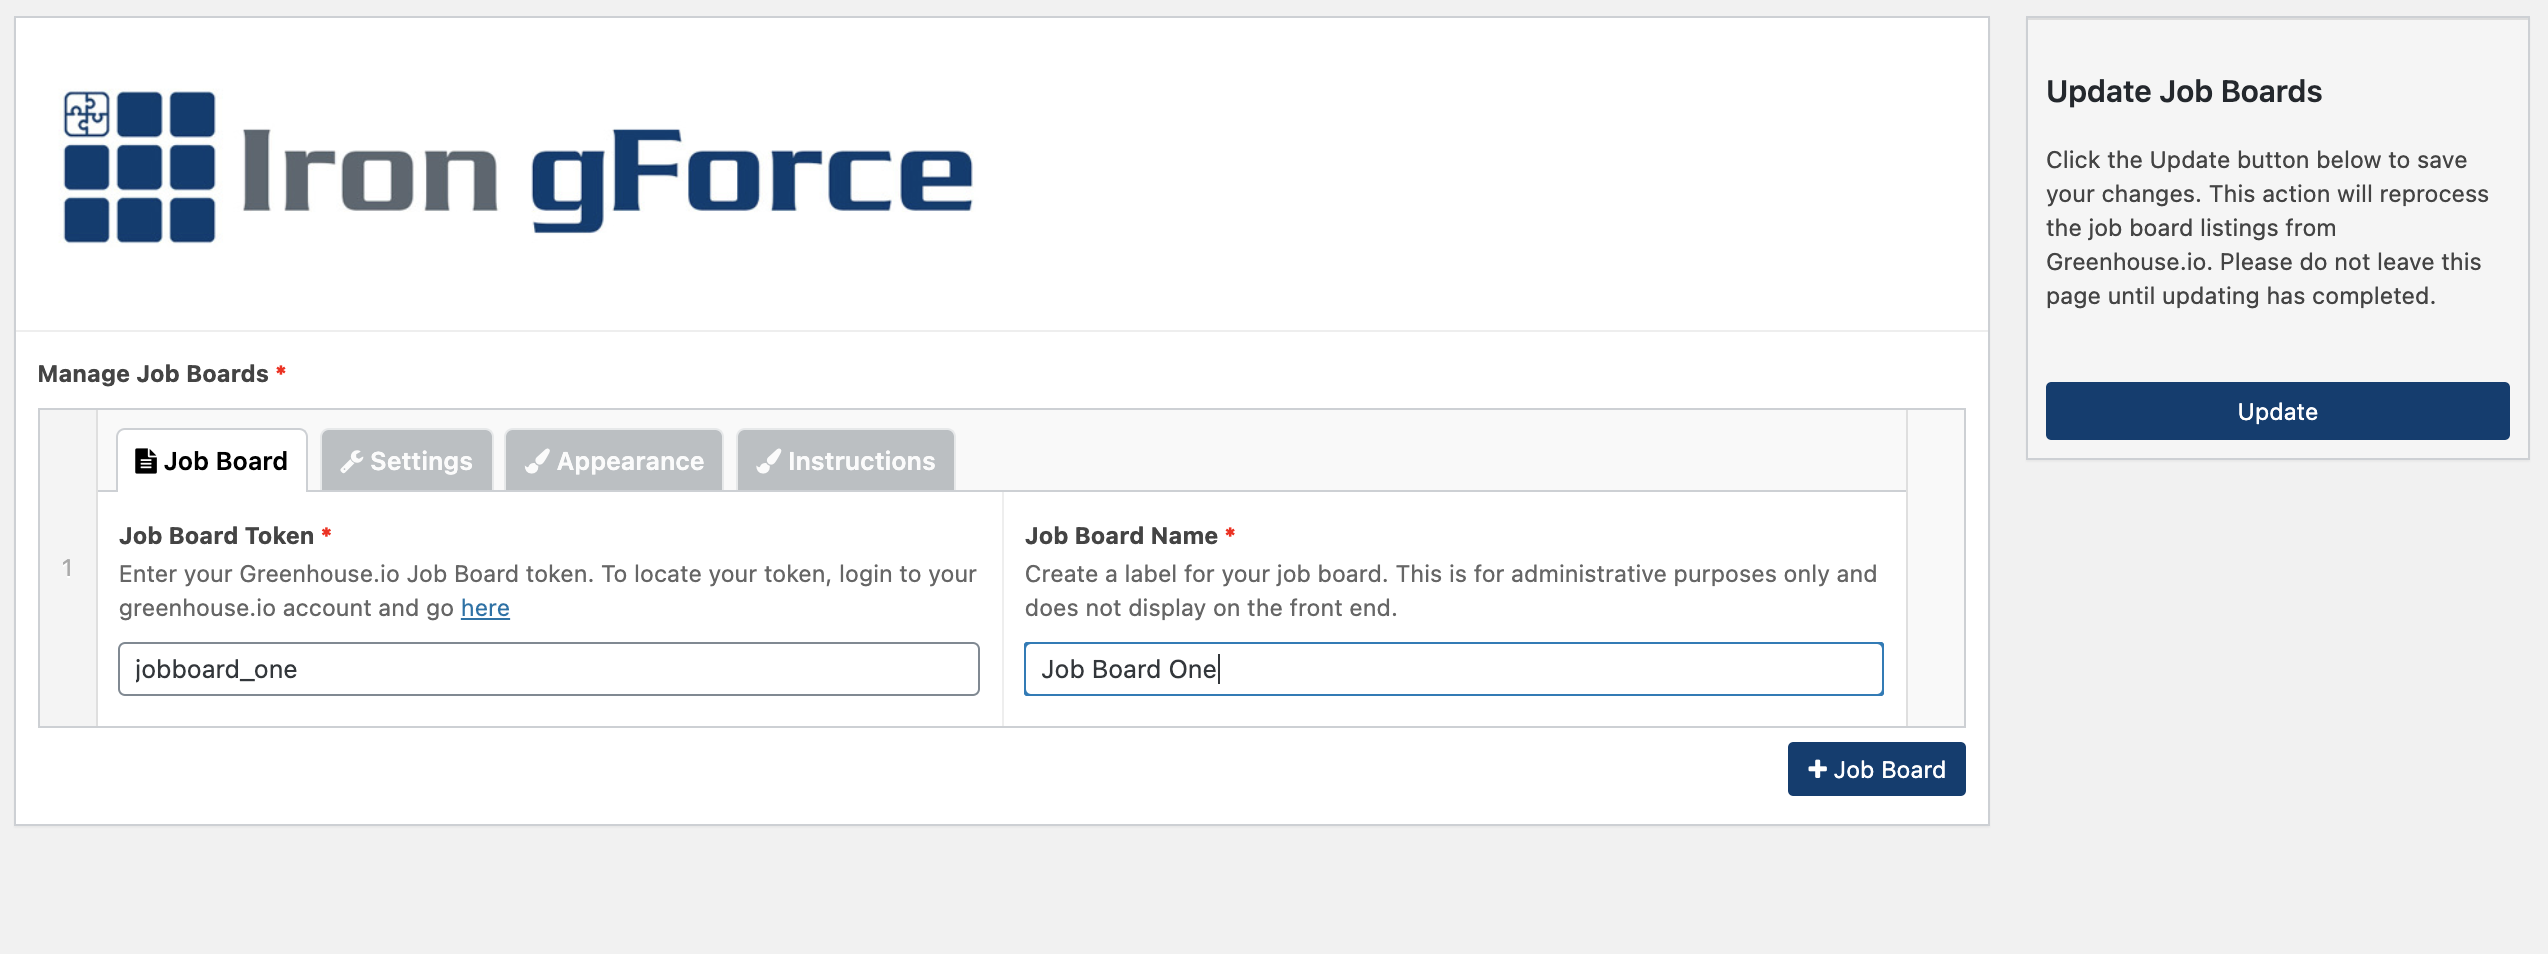
7. The Settings tab allows you to customize your job board. By default, the job details pages will use your WordPress themes default post template. You can either select a template from the list, or you can download the starter template to fully customize your job details pages. You may also set a custom URL slug for your job details pages or choose to use a separate application page. By default applications are displayed directly on the job details page.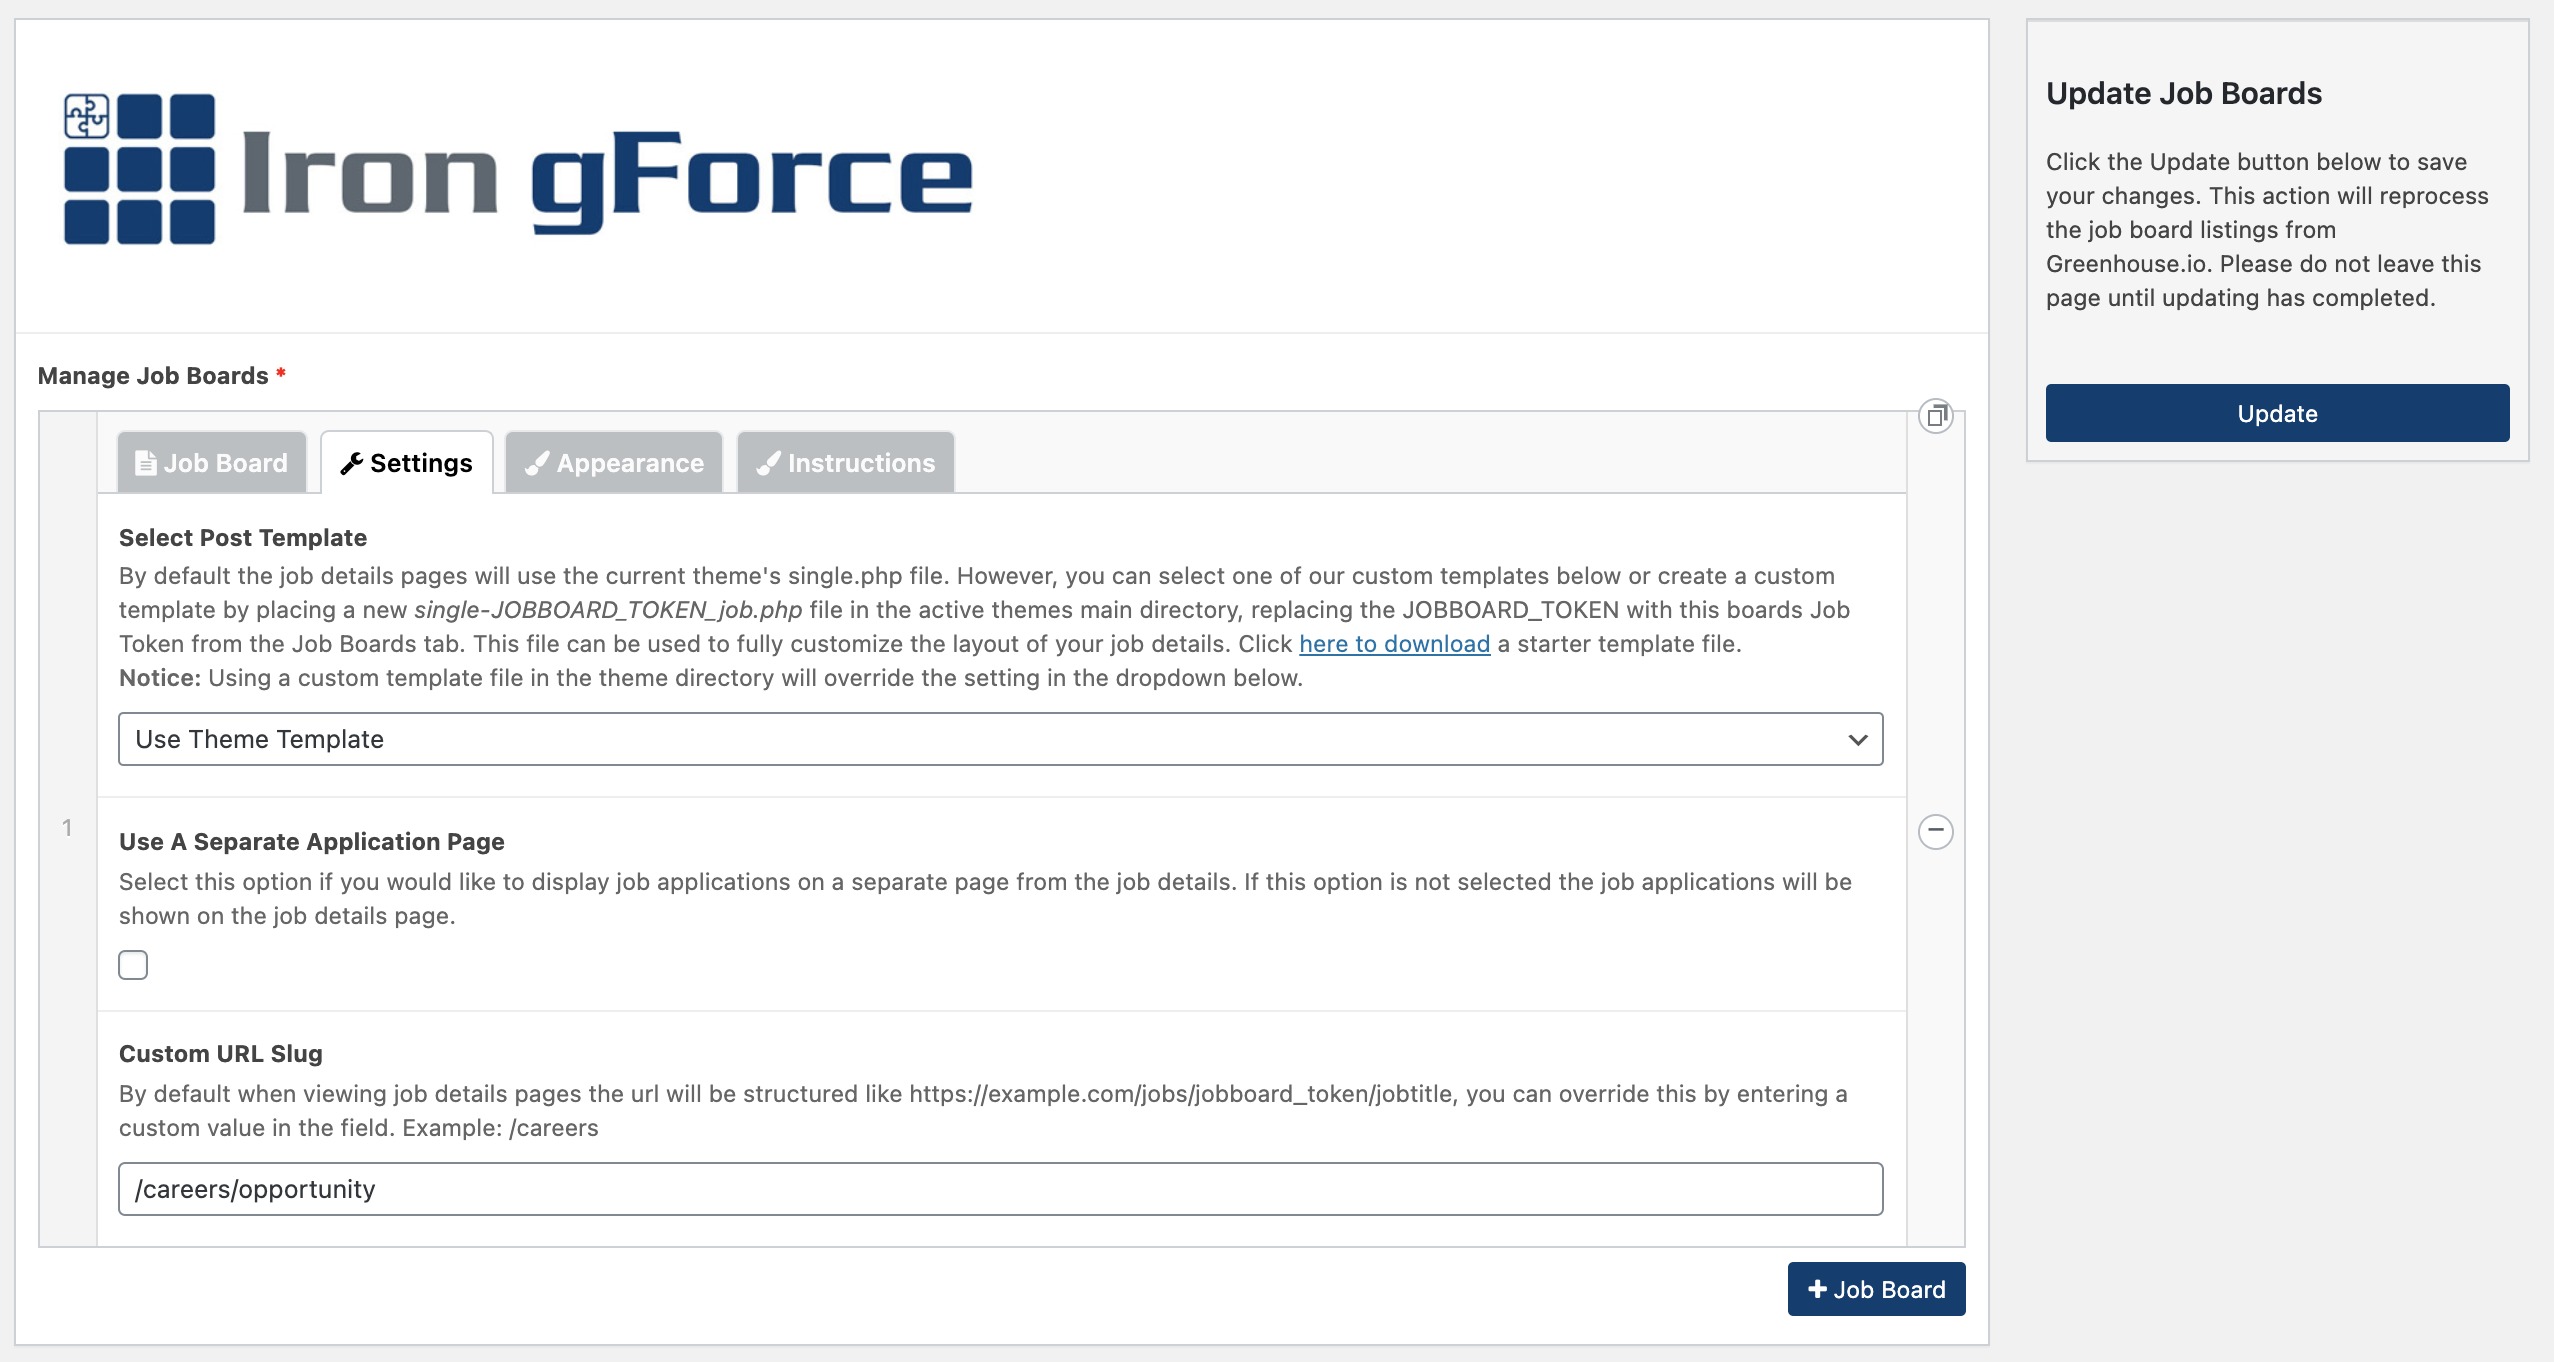
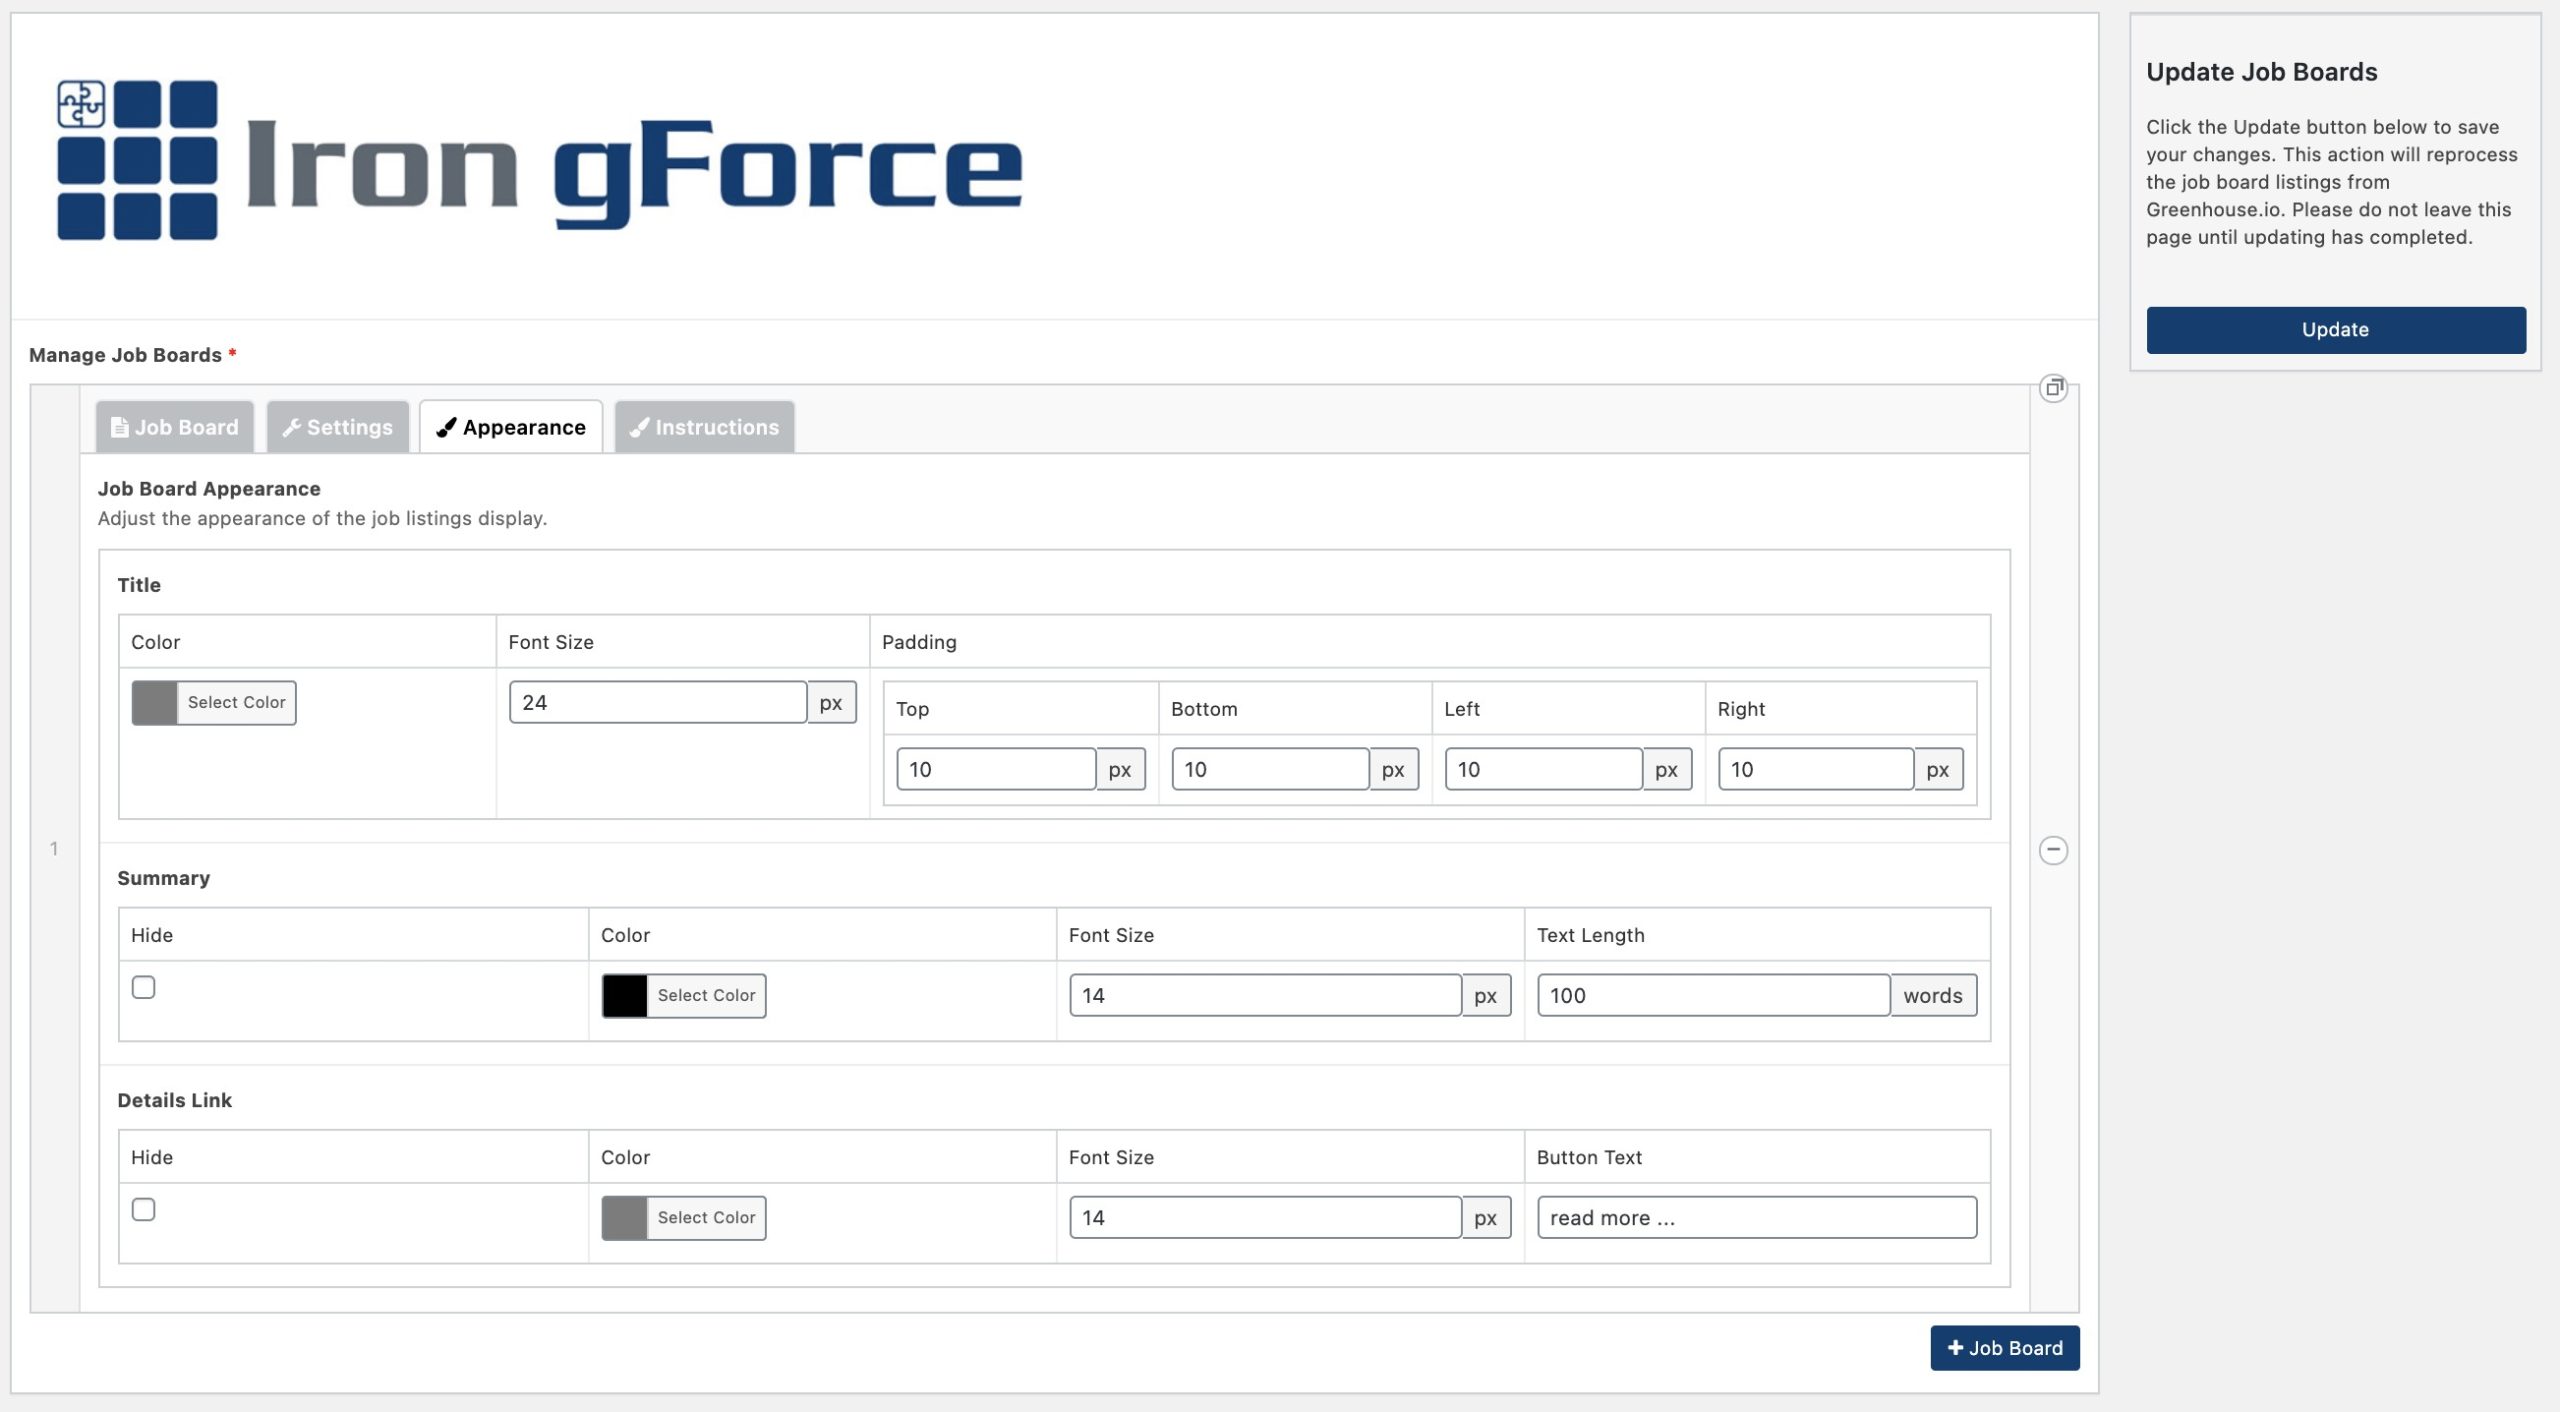
8. The Appearance tab allows you to quickly set the styles for the job listings page title, summary, and details link.
9. Once you have entered all your Job Board information, click update on the right in the Publish section. Do not leave this page until the update process is complete. Once finished, your Greenhouse jobs are imported and you can now add shortcodes to the pages you want your listings to display on.
10. To add a shortcode, create a new page within WordPress. To display jobs from the Job Board displayed above, you would enter the shortcode [irongforce job_board=”jobboard_token”] in the new page’s content area and publish the page. This will add a paginated and searchable listing of the jobs imported for the Job Board listed in the job_board parameter of the shortcode. To control the number of listings shown on each page, you can add the optional limit parameter to the shortcode like this, [irongforce job_board=”jobboard_token” limit=’20’]


Comments
There are currently no responses.